Click on the thumbnails below for the full-size image or click here to return to the restoration gallery index.
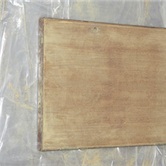
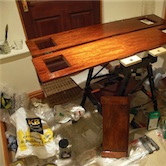
This is the centre console door stripped and being sanded.
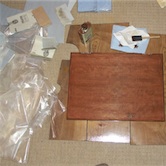
This is the same door after a wipe over with Colron deep mahogany stain. Makes such a difference... The door is pictured on two of the covers that fit between seat and
transom. They are made from a lovely formica covered wall panelling. Needless to say we've made new ones from ply!
transom. They are made from a lovely formica covered wall panelling. Needless to say we've made new ones from ply!
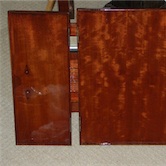
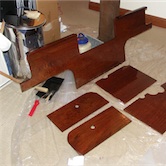
The small doors after 6 coats of Tonk. Note the reflections in the left hand door. It makes all the hard work seem worthwhile.
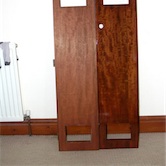
The cabin door on the left has had a wipe with Colron and the door on the right has had a few coats of Tonk. There's a black mark around the hole where the lock barrel fits, but it won't show when the lock is back in position.
The cabin doors after 4 coats of Tonk. They're not perfect, but they do look nice. I might have to make some new ones one day, as the chipboard's a little bit swollen at the bottom. You don't notice when they're on though. As you can see, I never was a tidy worker!
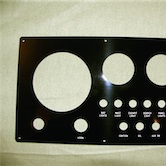
Here we have a picture of our new dash panel. We designed this on the computer, then emailed the file to John Walton Engraving (see links for details), who engraved and cut the panel into 3mm Traffolyte. We think it looks great. We can't have an oval panel anyway as the centre console had been previously hacked about. John Walton also engraved some
matching gas and petrol valve safety markers for us. The total cost of all this engraving? £37.00! The material in the background is a rather fetching sage green upholstery fabric. We got 31 metres of the stuff on eBay for less than £30! It's good quality stuff too.
matching gas and petrol valve safety markers for us. The total cost of all this engraving? £37.00! The material in the background is a rather fetching sage green upholstery fabric. We got 31 metres of the stuff on eBay for less than £30! It's good quality stuff too.
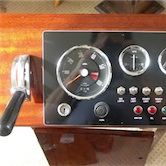
This picture shows the dash panel with the dials and switches test fitted. The dials were all found on eBay! Both the small gauges are new old stock and the tacho is immaculate. The rev-counter came from a 1960s Humber. All three dials only cost us £25 in total! Thank God for eBay... The throttle lever was a tenner at a boat jumble.
This proved a great way to varnish those little bits, hang them from the beam in the lounge. It's a good job the more patient half likes boats too!
The back panels after a wipe with Colron and a few coats of Tonk.
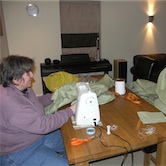
The more patient half, starting the mammoth task of re-upholstering the cushions. We got the foam for a good price on t' internet - it was £200 cheaper than local suppliers
could offer. They screwed up the delivery though and gave us the front berth cushions uncut. Managed to sort it out in the end though.
could offer. They screwed up the delivery though and gave us the front berth cushions uncut. Managed to sort it out in the end though.
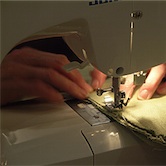
Another picture of the re-upholstery. It's here just because I like it!
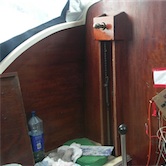
The cockpit after a wipe of stain and the first coat of varnish. Notice how well the colour matches between the unstained wood where the centre console normally goes and the rest of the bulkhead.
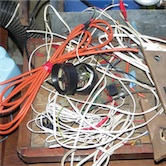
The pile of (non original) wires we removed from the boat. Lawnmowerc cable, twin core and earth, bell wire, and lamp flex, basically anything that was lying around! You can see the remains of the tacky dashboard and the boy racer tacho.
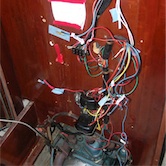
The wiring cupboard after removing the dodgy wiring. Lots of notes and markers to help save confusion later. We are still running with the original positive earth dynamo system. It manages to charge a large leisure battery and a small starter battery with no problem. I think, if we wanted a fridge, we'd probably install an alternator, but no need for now.
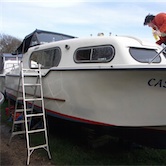
Marina pictured applying Poliglow to the topsides. This really does seem to be a wonderful product. Loads of people came to see what we were using, when they saw the shine start to appear.
© 2009 our-cassie.co.uk Contact us
