Click on the thumbnails below for the full-size image or click here to return to the restoration gallery index.
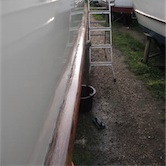
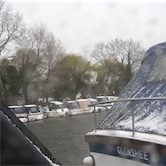
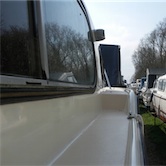
One side of the hull after applying Poliglow.
The Poliglow has transformed an almost completely matt hull into a gleaming example, without any buffing! The preparation did take a whole day though... The rubbing strakes are looking good too, after seven coats of varnish.
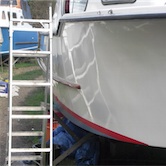
The topsides after the first few coats of Poliglow. This picture doesn't really do her justice, as the light was fading. She should look really nice when her deck fittings are re-chromed. We were going to do them this winter, but we decided to leave that until next winter, as it's going to be quite expensive.
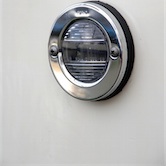
Another eBay bargain. We bought a set of three of these for the price of one. This one is where it should be on her stern, but the other two are going to be used as cockpit lights.
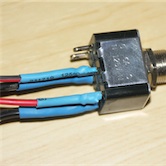
Starting to wire up the toggle switches for the dashboard. The switches we are using have solder tags, not Lucar connectors, so it's out with the soldering iron. I'm adding heat-shrink sleeving for extra security.
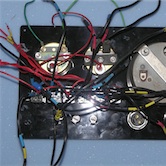
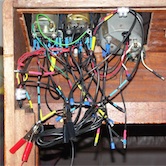
The back of the dashboard after the bulk of the wiring has been done. I have attached tails, with bullet connectors, to the switches, gauges and indicator lights, to make removal of the panel or individual items easier. I've also colour coded the cables with heat-shrink, as it's a lot cheaper than buying lots of different coloured cable. The white cable on the right is the pulse loop for the tacho. I'm hoping this will work well with our dynamo driven system, as it picks up pulses directly from the points, therefore avoiding the need for an alternator take off point. I just need to find a bulb holder to fit the illumination point on the back.
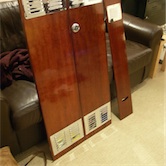
Finished cabin doors with new chrome on brass vents fitted. The vents are bigger than we wanted, as the original brass ones were an odd size. We found some stainless steel ones the correct size, but the price was ridiculous, so these will have to do. The small vent on the steering gear cover is actually the vent for the battery compartment! Looks good there though. Apologies for the fuzzy photo, but the doors were too reflective for the flash!
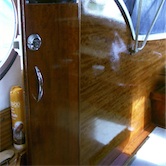
Cabin doors refitted, and cockpit side panel after 5 coats of varnish. It's starting to look nice now.
5 minutes after painting the deck with non-slip paint, this is what happened! The bright sunshine turned to snow and hail. Damage report at the weekend, watch this space...
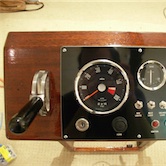
Dashboard finally in place in the centre console. The crocodile clips are supplying 12v to test the panel lighting.
All working! The rather complicated panel wiring finished at last. Should be able to start the re-installation at the weekend. It's not as the original, but far better than the brown vinyl jobby, and in keeping with her age.
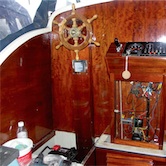
View of the cockpit and centre console, with the wiring half completed. The more we do to her, the more we hate that ghastly 'Captain Pugwash' wheel! Woodwork's looking nice now. Need to either renovate or replace the floor panels next.
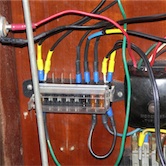
Close-up of the new, modern, blade type fuse box. The original 4 way Lucas box can be seen on the right. Still got a few circuits to wire into the new box. Most circuits will have their own fuse, which makes any future problems much easier to trace. Wiring will be clipped up neatly, when everything's finished.
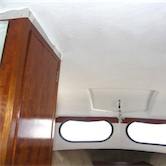
This is the cabin ceiling after two coats of International Anti Condensation Paint. What an amazing difference this makes! You don't realise just how dirty the cabin ceiling is, until you go over it with white paint. Masking tape can be seen around the cupboard edges to protect the woodwork.
Despite being rained and hailed on 5 minutes after painting, the deck paint was fine! A little bit pock-marked but a second coat soon sorted that out. We think she looks great, with her new beige colour scheme.
© 2009 our-cassie.co.uk Contact us
